If your Dell dies the moment you unplug it, jumps from 40% to 5%, or Windows nags “Consider replacing your battery,” this guide is for you. We’ll cover how to choose the right replacement, swap it safely, calibrate it, and keep it healthy—highlighting popular Dell part numbers like WDX0R, 6GTPY, M5Y1K, DXGH8, RJ40G, and 33YDH.
1) Do you actually need a new battery?
Common signs
- Rapid drop from ~30% to single digits.
- “Battery swelling detected” or the bottom case won’t sit flat (replace immediately).
- Dell Power Manager/ePSA shows “Battery health = poor.”
- Laptop shuts off when you unplug the charger.
Quick health check
- Windows: Press Win + X → Terminal (Admin) → run
powercfg /batteryreportand open the HTML report to compare Design Capacity vs Full Charge Capacity. - Linux:
upower -i /org/freedesktop/UPower/devices/battery_BAT0
2) Match the right Dell battery (no guesswork)
There are three numbers that matter:
- Part number (PN) printed on your original battery (e.g., WDX0R, 6GTPY, M5Y1K, DXGH8, RJ40G, 33YDH).
- Voltage (V) and capacity (Wh). Voltage must match; capacity can be equal or higher if it physically fits.
- Physical layout: high-capacity packs can be larger. In some 15″ models, big batteries use the 2.5″ drive bay; you may need an M.2 SSD instead of a 2.5″ HDD.
Where to find your PN: on the battery label, in BIOS Battery Information, or on your original invoice/spec sheet.
3) Tools & prep
- Small Phillips #0/#00 (some Dells use a T5 Torx for the bottom cover).
- Plastic spudger/opening picks (avoid metal on connectors).
- ESD strap or touch grounded metal to discharge static.
- Phone camera to track screw positions; small container for screws.
- Shut down (not sleep) and unplug AC.
- Hold power 10–15 sec to discharge residual power.
- If BIOS offers “Disable built-in battery,” enable it before opening (varies by model).
4) Replacement procedure (typical Dell ultrabook/Latitude/XPS)
- Remove bottom cover. Unscrew all bottom screws (some hide under rubber feet). Track lengths/locations.
- Disconnect the battery cable first. Use a spudger to walk the plug out horizontally—don’t pull by the wires.
- Remove battery screws and lift the pack straight up. If there’s mild adhesive, work slowly.
- Seat the new battery and reinstall screws (snug, not overtight).
- Reconnect the battery cable (fully seated, aligned).
- Reassemble the bottom cover and boot on AC power.
5) Post-install: calibrate & verify
- Update your BIOS to the latest (Dell Support with your Service Tag).
- Do one full cycle: charge to 100% → rest on AC ~30 min → use to 5–10% → charge back to 100%.
- Run ePSA diagnostics (press F12 at boot → Diagnostics).
6) Care & longevity tips
- Keep typical charge between ~20% and 85% when possible.
- Avoid sitting at 0% or 100% for days.
- Heat kills: don’t block vents; clean dust twice a year.
- For storage of weeks: power off at 40–60%.
7) Popular Dell Replacement Batteries (by Part Number)
Match the part number on your current battery. Voltage must match; higher Wh is fine if the chassis allows the size. Compare photos and mounting tabs to your original before buying.
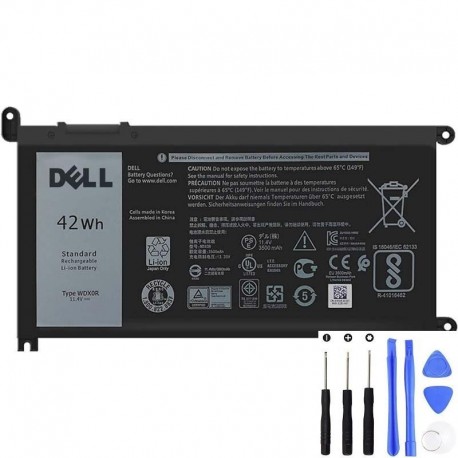
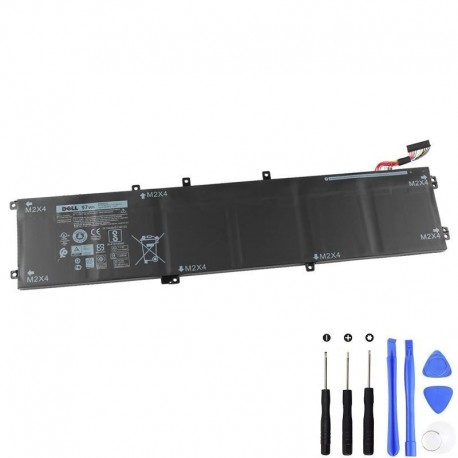
Dell 6GTPY — 97Wh
High-capacity option for performance 15″ systems; may occupy the 2.5″ bay.
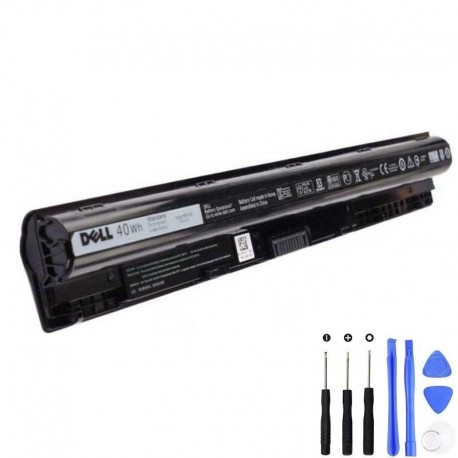


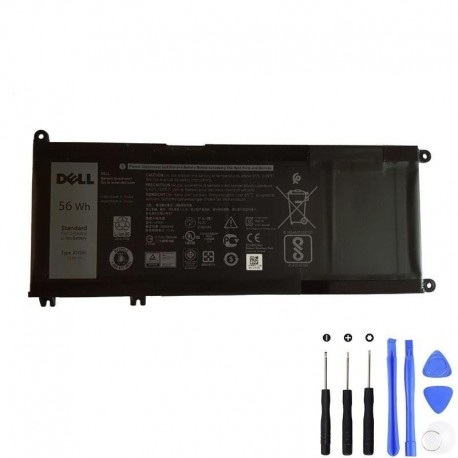
8) Quick compatibility checklist (before you buy)
- ✅ Part number matches (e.g., WDX0R ↔ WDX0R).
- ✅ Voltage matches your original.
- ✅ Capacity fits your chassis (bigger Wh can be physically larger).
- ✅ Connector position & screw tabs line up (compare photos).
- ✅ BIOS updated (recommended) for best charge control.
9) Troubleshooting after a battery swap
- “Battery not detected” / “Cannot be identified”
Reseat the cable; check for debris or bent pins; update BIOS. - Percentage stuck or jumps
Do a calibration cycle. Clear “flea power”: shut down, unplug, hold power 30 seconds. - Shuts down on battery only
Re-seat cable, ensure it’s not pinched under the cover; run ePSA diagnostics. - Swelling or unusual heat
Power down and remove immediately. Do not puncture. Replace and recycle safely.
10) Recycle the old pack (seriously)
Don’t trash lithium-ion. Use local e-waste or battery drop-off services (electronics stores, municipal recycling). If terminals are exposed, insulate them for transport.
TL;DR
- Confirm your part number and voltage, pick the right capacity.
- Follow safe disassembly: disconnect battery first, then screws.
- Calibrate once, keep it cool, avoid long stints at 0% or 100%.
- Compare product photos and tab layout to your original before buying.
Want a sanity check? Share your Dell Service Tag and the part number on your current battery label—I’ll confirm compatibility and suggest the best fit.