Goal: Help you confirm if your battery really needs replacing, choose the right part (54 Wh V6W33 or 64 Wh TN70C), and safely install it yourself—step by step with photos.
Quick Summary & Jump Links
- Common Battery Problems (How to tell)
- Battery Problem Diagnosis Checklist
- Verify Battery Health (Windows & BIOS)
- Choose the Right Replacement (54 Wh vs 64 Wh)
- Before You Start (Tools & Safety)
- Remove Base Cover
- Remove the Battery
- Install the New Battery
- Post-Install: Calibration & Checks
- Official Battery Specifications
- FAQ
Common Laptop Battery Problems (What Customers Notice First)
From a customer’s perspective, these are the red flags that usually trigger a battery purchase decision. The more of these you check, the stronger the case for replacement.
Usage & Runtime Symptoms
- Rapid drain: battery drops from 100% to low single digits in under 1–2 hours on light use (web & docs).
- Sudden shutdowns: the laptop powers off at 15–40% remaining or when you unplug the charger.
- Battery percentage jumps: e.g., 60% → 30% → 55% without reason.
- Poor standby: loses 10–20% overnight in sleep/hibernate.
- Won’t charge past a cap: stuck at 50–80% (not caused by smart charge limits).
Hardware & Health Indicators
- Battery Health = “Poor/Needs replacing” in BIOS or Dell utilities.
- High cycle count / aged cells: noticeable capacity loss after ~300–500 cycles.
- Swollen battery (critical): touchpad lifting, case bulge, click feels stiff.
- Charger dependency: performance throttles or shuts off when unplugged.
- Charging irregularities: “Plugged in, not charging” with a known-good adapter.
Battery Problem Diagnosis Checklist
Tick what you are experiencing. If 2 or more items are checked, the system will flag a replacement.
Verify Battery Health (Before You Buy)
Windows 10/11 Battery Report (No tools needed)
- Press Win + X → Windows Terminal (Admin).
- Run:
powercfg /batteryreport - Open the generated battery-report.html (shown in the terminal output).
Compare Design capacity vs Full charge capacity. If the full charge capacity is <70–80% of design or cycle count is high, replacement is warranted.
Dell BIOS & Dell utilities
- Reboot → tap F2 to enter BIOS. Check Battery Health status.
- In Windows, open Dell Power Manager or MyDell to review battery health and charging settings.
If BIOS says Poor or Needs replacing, proceed to replacement.
Choose the Right Replacement (Compatible Options)
Your Inspiron 14 7430 2-in-1 supports two official battery options. Both fit P172G / P172G001 chassis. Pick based on capacity and availability.
| Option | Part | Capacity | Typical Voltage | Why choose it |
|---|---|---|---|---|
| Option 1 | Dell V6W33 | 54 Wh (4-cell) | 15 V DC | Closest to stock, lighter, usually lower cost. |
| Option 2 | Dell TN70C | 64 Wh (4-cell) | 15.2 V DC | ~18% more capacity for longer runtime. |

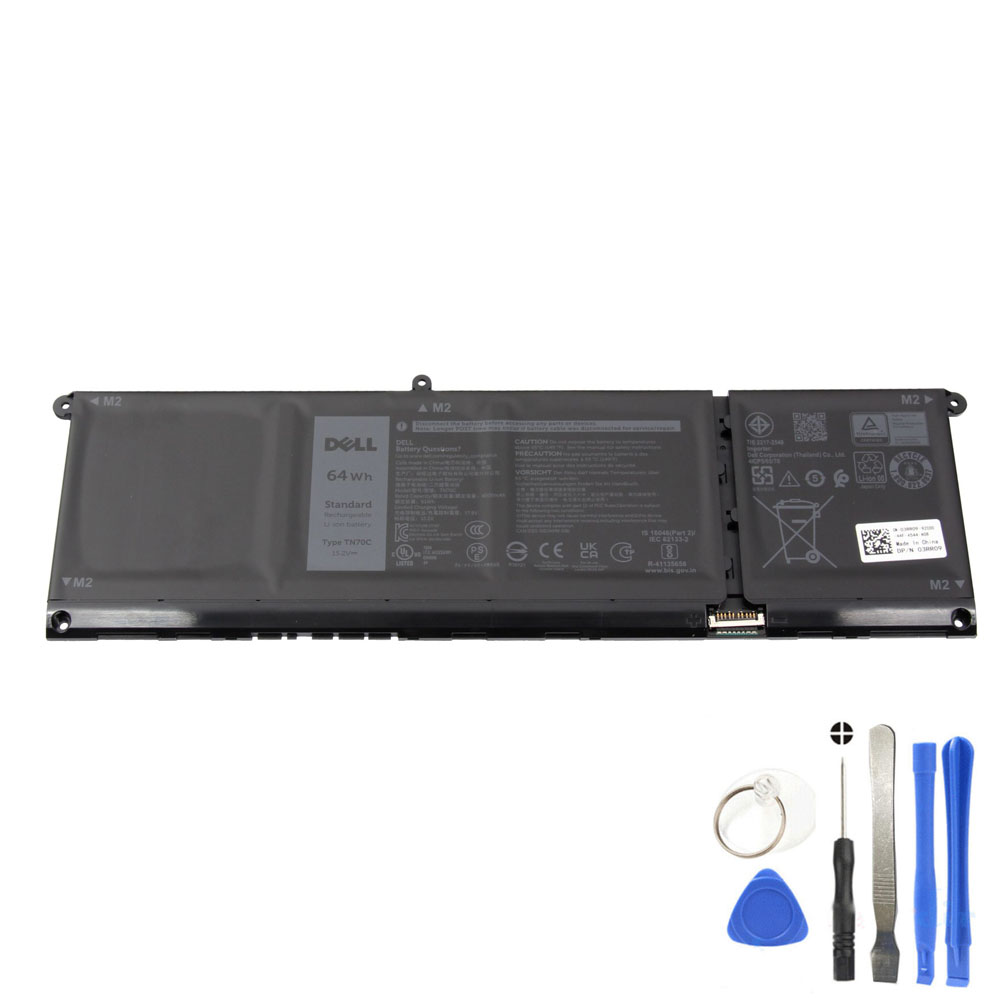
Tip: If you prioritize battery life away from outlets, pick the 64 Wh TN70C.
Before You Start (Tools, Safety, Time)
- Time: ~25–45 minutes. Difficulty: Moderate.
- Tools: Phillips #0 screwdriver, ESD strap (or touch metal to discharge), plastic pry tool/spudger, tweezers.
- Safety: Power down, unplug AC, and hold power button 15 seconds to drain residual power. Remove any SD/microSD card first.
- Surface: Flat, non-conductive workspace. Keep track of screw sizes: base cover M2×4; battery M2×3.
- Warranty note: If the laptop is under warranty, check terms before opening the chassis.
Step 1 — Remove the Base Cover
- Remove the four M2×4 screws holding the base cover to the palm-rest and keyboard assembly.
- Loosen the three captive screws; they will stay attached to the cover and create a small gap near the hinges.
- Starting from the top-left hinge corner, use a plastic pry tool to release the clips around the edge.
- Lift the base cover away and set it aside.
- Peel the tape securing the battery cable and disconnect the battery cable from the system board.


Step 2 — Remove the Battery
Important: Avoid bending or puncturing the pack. Keep metal tools clear of the connector area.
- Peel any remaining tape that secures the battery cable, if present.
- Ensure the battery cable is fully disconnected from the system board.
- Remove the five M2×3 screws securing the battery to the palm-rest and keyboard assembly.
- Lift the battery straight up and out. Support it evenly.

Step 3 — Install the New Battery
- Place the V6W33 54 Wh or TN70C 64 Wh battery in position, aligning screw holes.
- Install the five M2×3 screws. Snug them in a cross pattern—do not overtighten.
- Connect the battery cable to the system board and secure any tape.
- Re-fit the base cover: engage clips around the perimeter, then tighten the three captive screws and install the four M2×4 screws.
Done! Proceed to the post-install checks below to maximize battery life and accuracy.
Post-Install: Calibration & Health Checks
- First charge: With the laptop off, charge to 100% (approx. 4 hours).
- Battery calibration (optional but helpful): Use on battery down to ~10–15%, then charge back to 100% without interruptions.
- Update BIOS & drivers: Use Dell SupportAssist/MyDell to apply updates for power management.
- Rerun
powercfg /batteryreportand check that Full charge capacity increased appropriately. - Set smart charging in Dell Power Manager to suit your usage (e.g., Adaptive or Standard).
- Recycle the old battery via local e-waste programs—never bin it.
Official Battery Specifications — Inspiron 14 7430 2-in-1
| Description | Option one (54 Wh) | Option two (64 Wh) |
|---|---|---|
| Battery type | 4-cell “smart” lithium-ion, 54 Wh | 4-cell “smart” lithium-ion, 64 Wh |
| Battery voltage | 15 V DC | 15.20 V DC |
| Weight (max) | 0.235 kg (0.52 lb) | 0.26 kg (0.57 lb) |
| Dimensions (H × W × D) | 271.90 mm × 82 mm × 5.75 mm | 271.90 mm × 82 mm × 5.75 mm |
| Operating temp | Charge: 0–45 °C; Discharge: 0–70 °C | Charge: 0–45 °C; Discharge: 0–70 °C |
| Storage temp | −20–60 °C | −20–60 °C |
| Charging time (off) | ~4 hours | ~4 hours |
| Operating time | Varies with workload; reduces under power-intensive conditions. | |
Compatibility Dell Inspiron 14 7430 2-in-1 — P172G / P172G001.
FAQ
Will the 64 Wh TN70C fit the same as the 54 Wh V6W33?
Yes—both are 4-cell packs designed for this chassis and share mounting points and connector orientation.
My laptop turns off around 30%—is it the battery?
Usually yes. Cell wear leads to mis-reported capacity and sudden drop-offs. Confirm via BIOS health and Windows battery report.
What if my battery is swollen?
Stop using the device, don’t attempt to flatten the case, and replace the pack immediately. Handle gently and recycle properly.